Run Fast.ai course notebooks using Google Colab and Clouderizer
Using Clouderizer will allow us to get started with the course notebook with minimal setup overhead. If Clouderizer is not used, need to do below setup steps in Colaboratory every time we connect(after every 12 hours or after the session is idle for 90 minutes or more). Colaboratory is meant for interactive use. So Colaboratory backend(VM) is available for 12 hours at a time.
- Install PyTorch
- Install torchvision
- Install torchtext
- Install fastai library
Overview
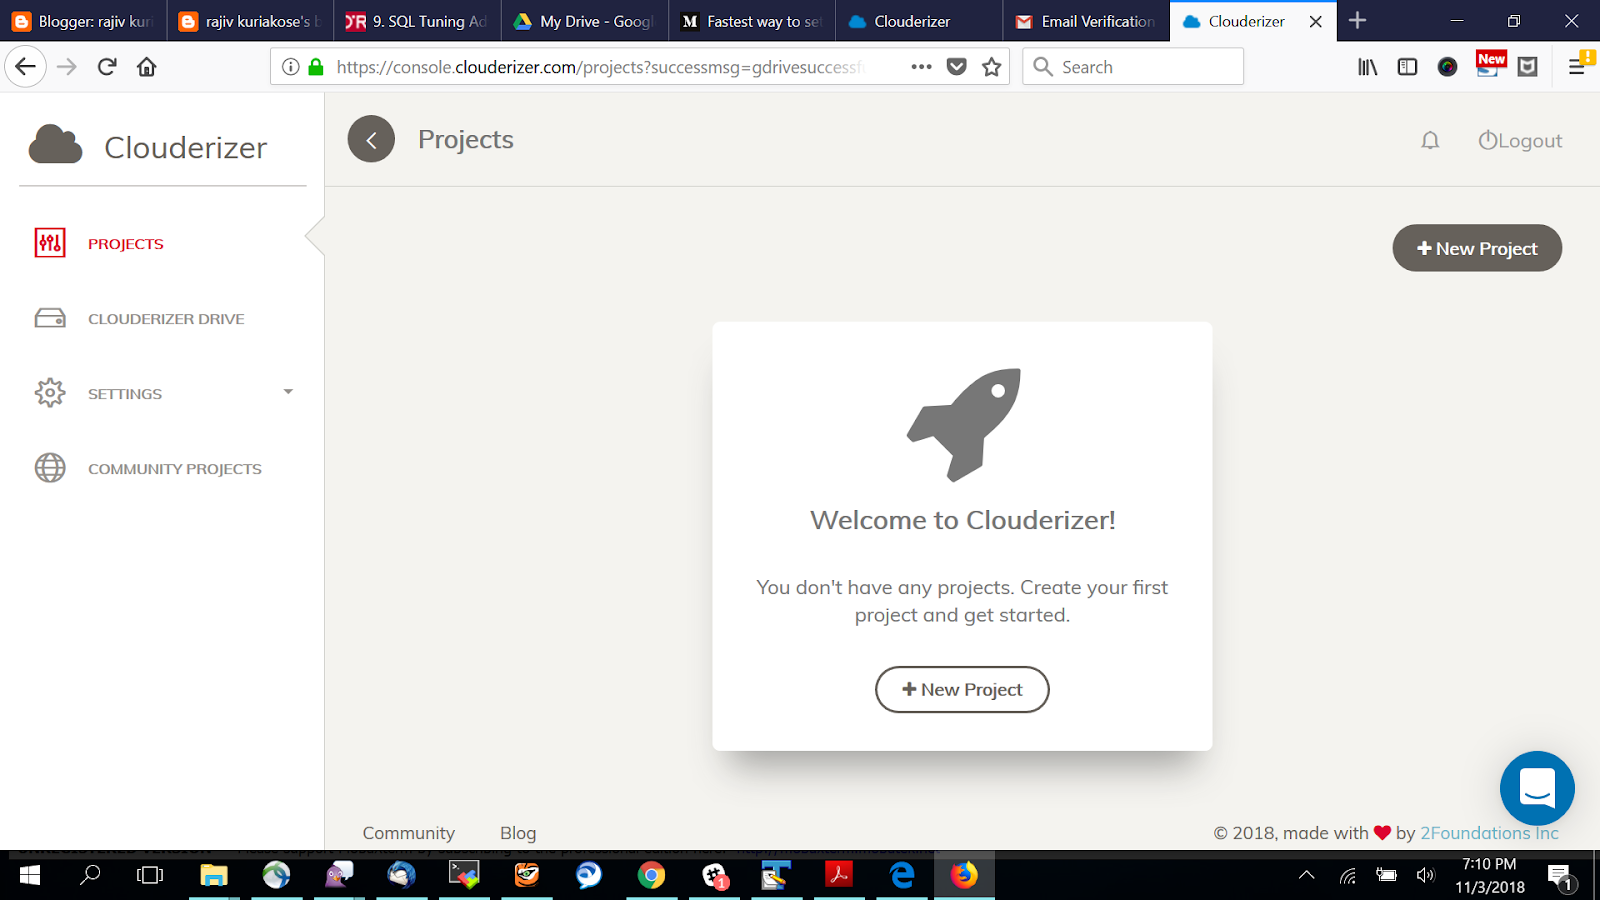
- Sign Up for Clouderizer account
- Verify Email
- Login to Cloudarizer
- Allow Clouderizer to access your Google Drive
Click on Community Projects on the left side navigation tab. And click “Clone” button next to FASTAI.


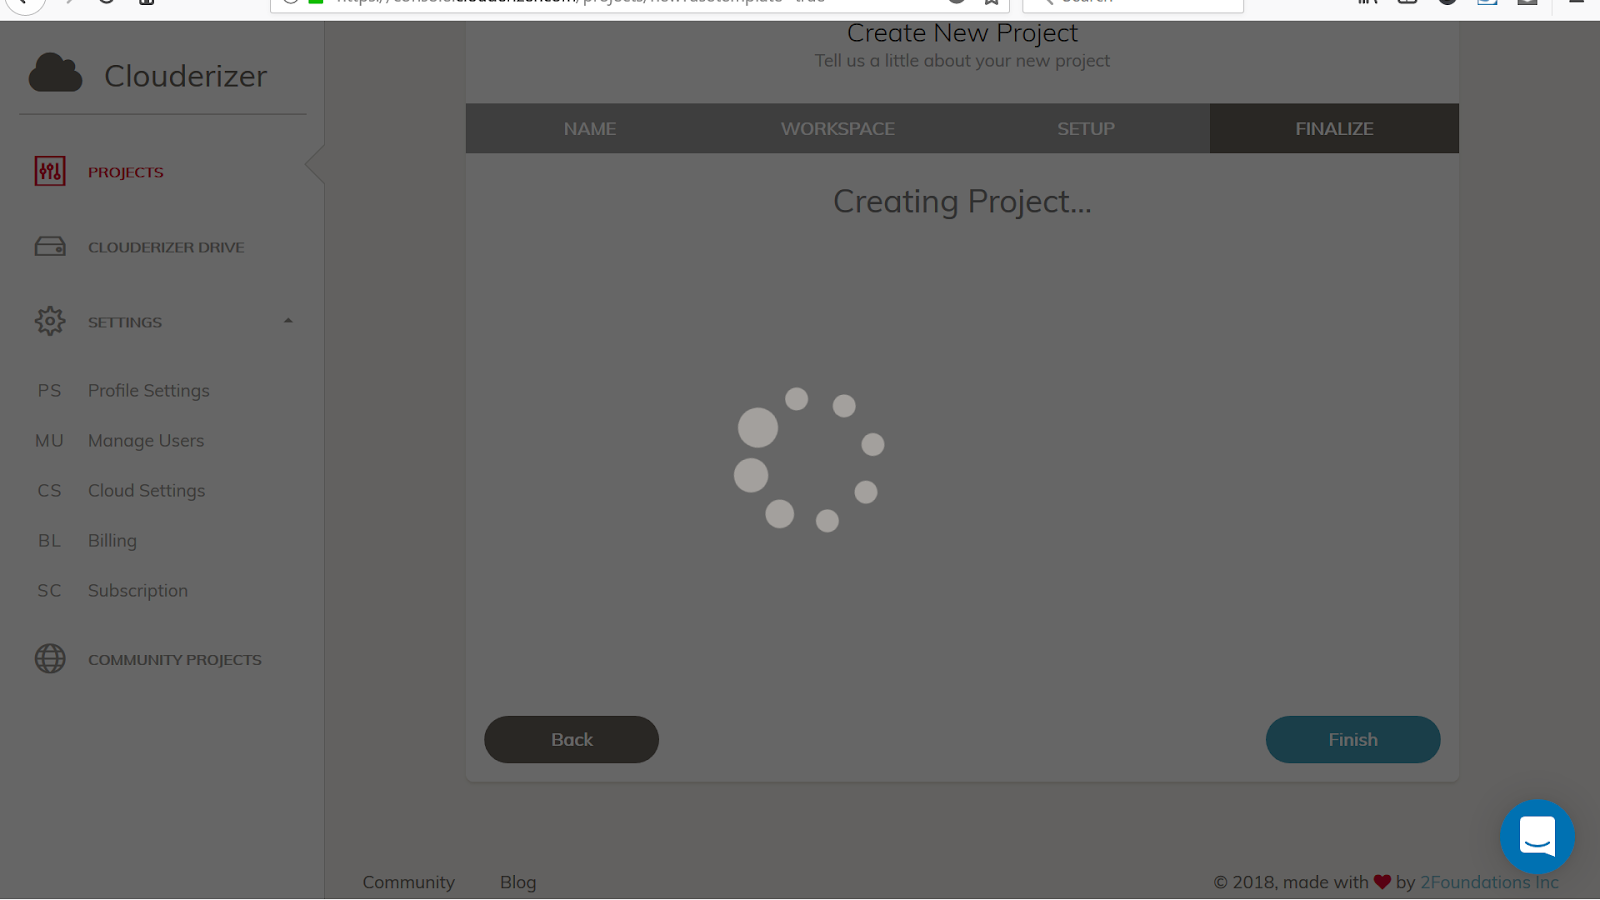
I have kept the default “Project Name” and clicked Next.


By default “Terminal” and Jupyter Notebook” options are enabled in the Remote Access section. And the Startup script section shows below tasks.
----PRE TASK START----
pip3 install fastai==0.7.0
if pip -V | grep "python 3.6"
then
pip install http://download.pytorch.org/whl/cu80/torch-0.3.0.post4-cp36-cp36m-linux_x86_64.whl
pip install torchvision
pip install torchtext==0.2.3
else
pip3 install http://download.pytorch.org/whl/cu80/torch-0.3.0.post4-cp36-cp36m-linux_x86_64.whl
pip3 install torchvision
pip3 install torchtext==0.2.3
fi
----PRE TASK END----
ln -s ~/clouderizer/fast.ai/data ~/clouderizer/fast.ai/fastai/courses/dl1/
jupyter nbextension enable --py widgetsnbextension --sys-prefix
|


Next Steps:
Next Steps :
To start this Clouderizer project on an Ubuntu machine, open a terminal and type the following command.
wget -NS --content-disposition "https://console.clouderizer.com/givemeinitsh/lFuTXTKu" && bash ./clouderizer_init.sh
OR
You can also start this project on Google Colab, AWS or GCP. Close this wizard and press Start on this project card from main console.
|

Click ”Start” button on Fast.ai project

You can also paste code below in any Colab notebook cell and execute it
!wget -NS --content-disposition https://console.clouderizer.com/givemeinitsh/lFuTXTKu && bash ./clouderizer_init.sh
|
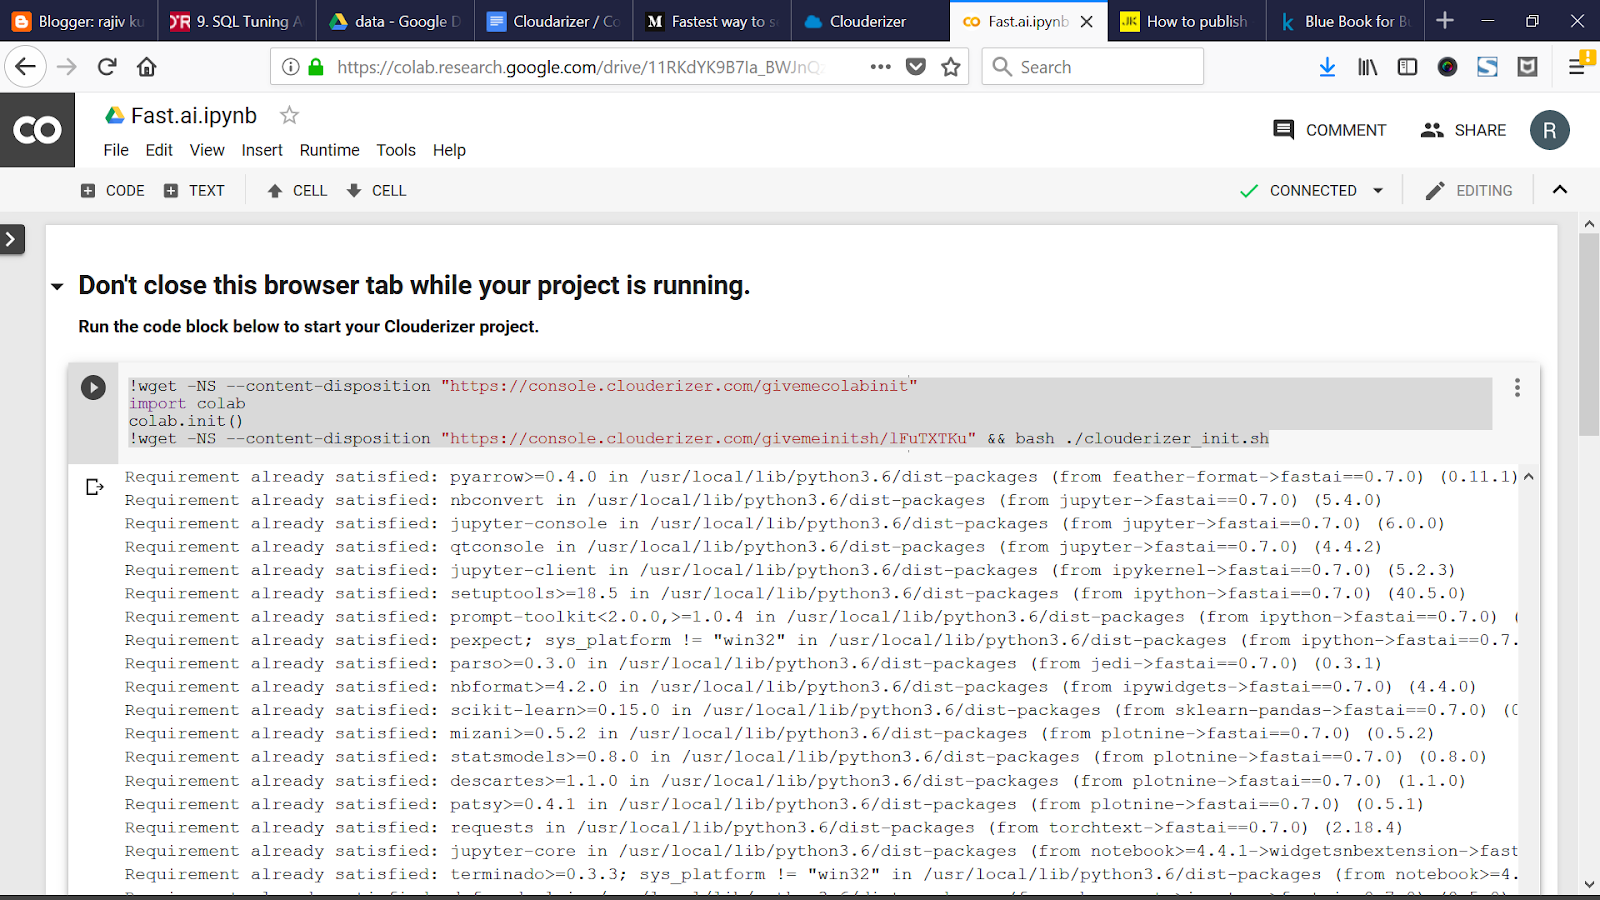
I have clicked on “Launch Colab Notebook” and it opened a new tab. And the status of the project changed to “Starting”.

Here is the Google Colab Window:
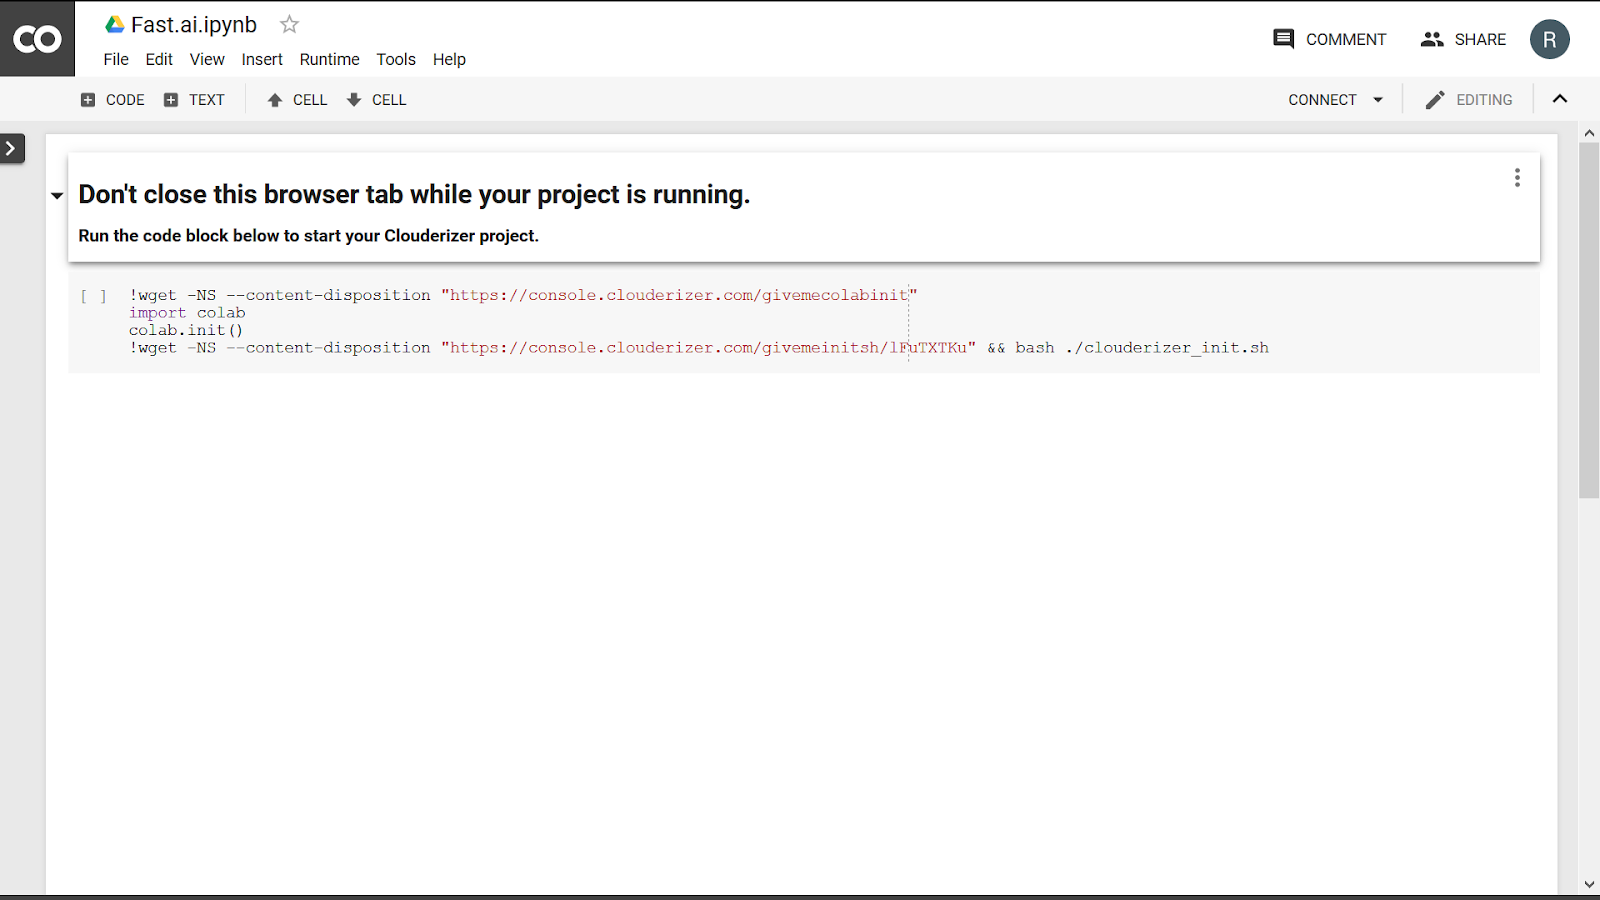
Below is the partial output log from the above Google Colab run. I have highlighted important entries in the below snippet.
--2018-11-03 13:56:54-- https://console.clouderizer.com/givemecolabinit
..
Saving to: ‘colab.py’
--2018-11-03 13:56:58-- https://console.clouderizer.com/givemeinitsh/lFuTXTKu
..
Saving to: ‘clouderizer_init.sh’
--2018-11-03 13:56:58-- https://console.clouderizer.com/givemecolabinitsh/lFuTXTKu
..
Saving to: ‘colab_init.sh’
…...
Running inside Docker!
Linux version 4.14.65+ (chrome-bot@swarm-cros-641) (gcc version 4.9.x 20150123 (prerelease) (4.9.2_cos_gg_4.9.2-r193-ac6128e0a17a52f011797f33ac3e7d6273a9368d_4.9.2-r193)) #1 SMP Sun Sep 9 02:18:33 PDT 2018
11/03/18 13:56:59 Starting Clouderizer...
If you are running clouderizer for first time on this machine, it might take some time (~10 mins) to install all prerequisite frameworks.
...
Successfully installed torchtext-0.2.3
ENDING PRE-STARTUP TASK
* Restarting OpenBSD Secure Shell server sshd
...done.
11/03/18 14:01:06 All setup done. Total Setup Time : 4 minutes
nohup: appending output to 'nohup.out'
Starting Clouderizer service now...
******You can now login to Clouderizer console to remotely access this project.*******
|
After seeing this message I went back to Clouderizer console. And now the status changed to Running.

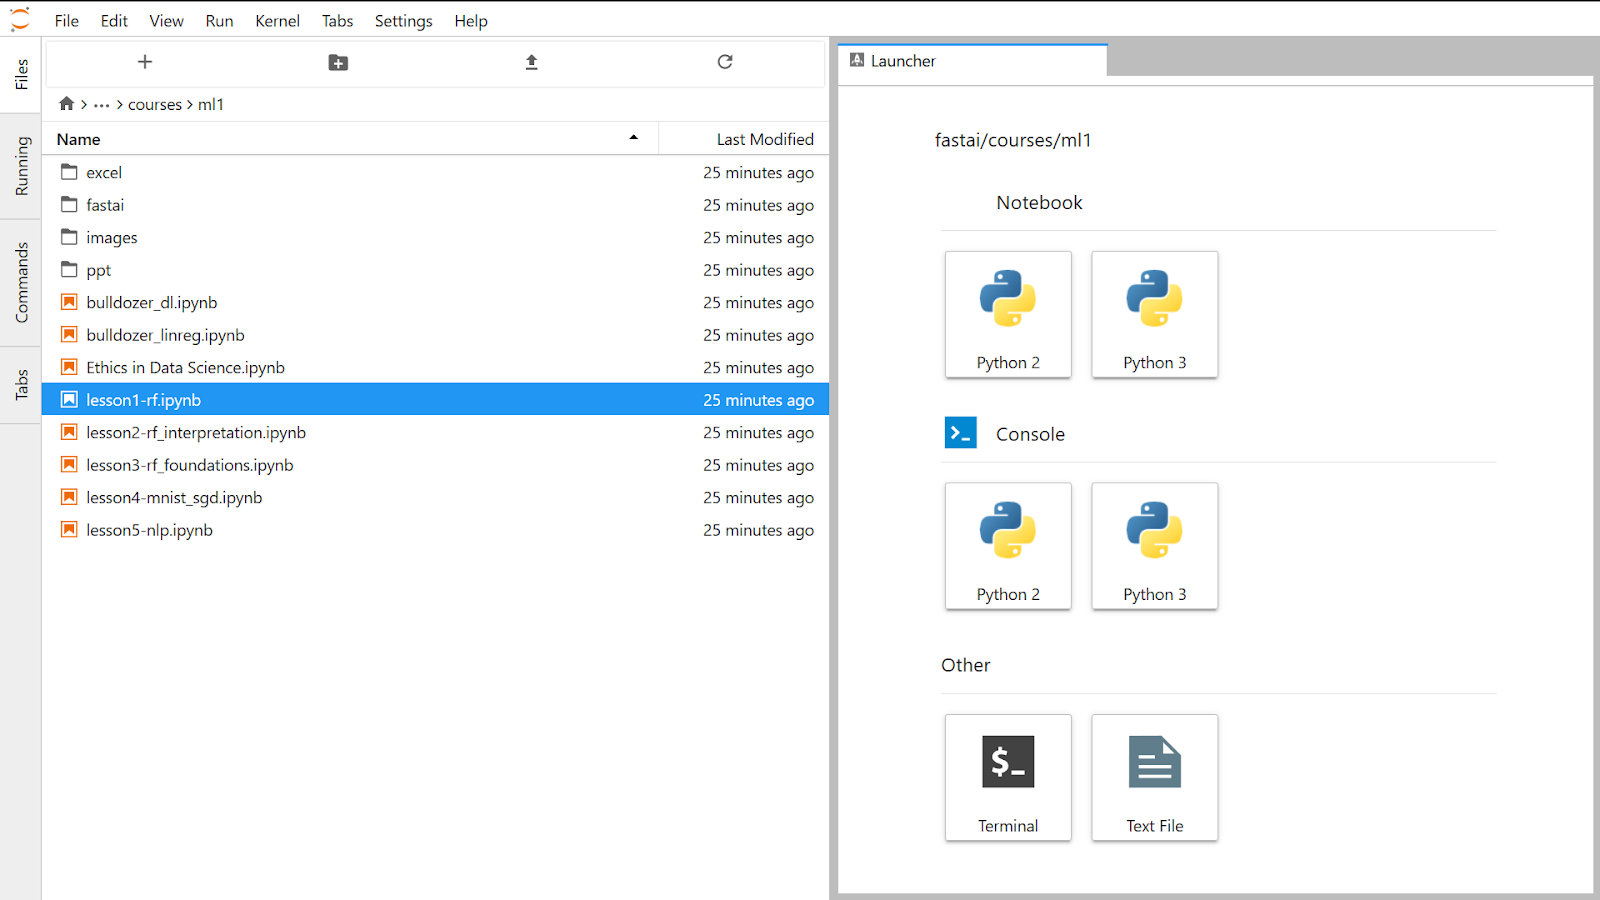
Clicked on the “Launch Jupyter” icon

In Google Drive, there is a new folder “clouderizer” and below are the contents.

Back to Clouderizer Console.
I have navigated to the “fastai” folder on the left side. And opened the lesson 1 Notebook.
Right click the lesson file name. And select “open with Notebook” option.
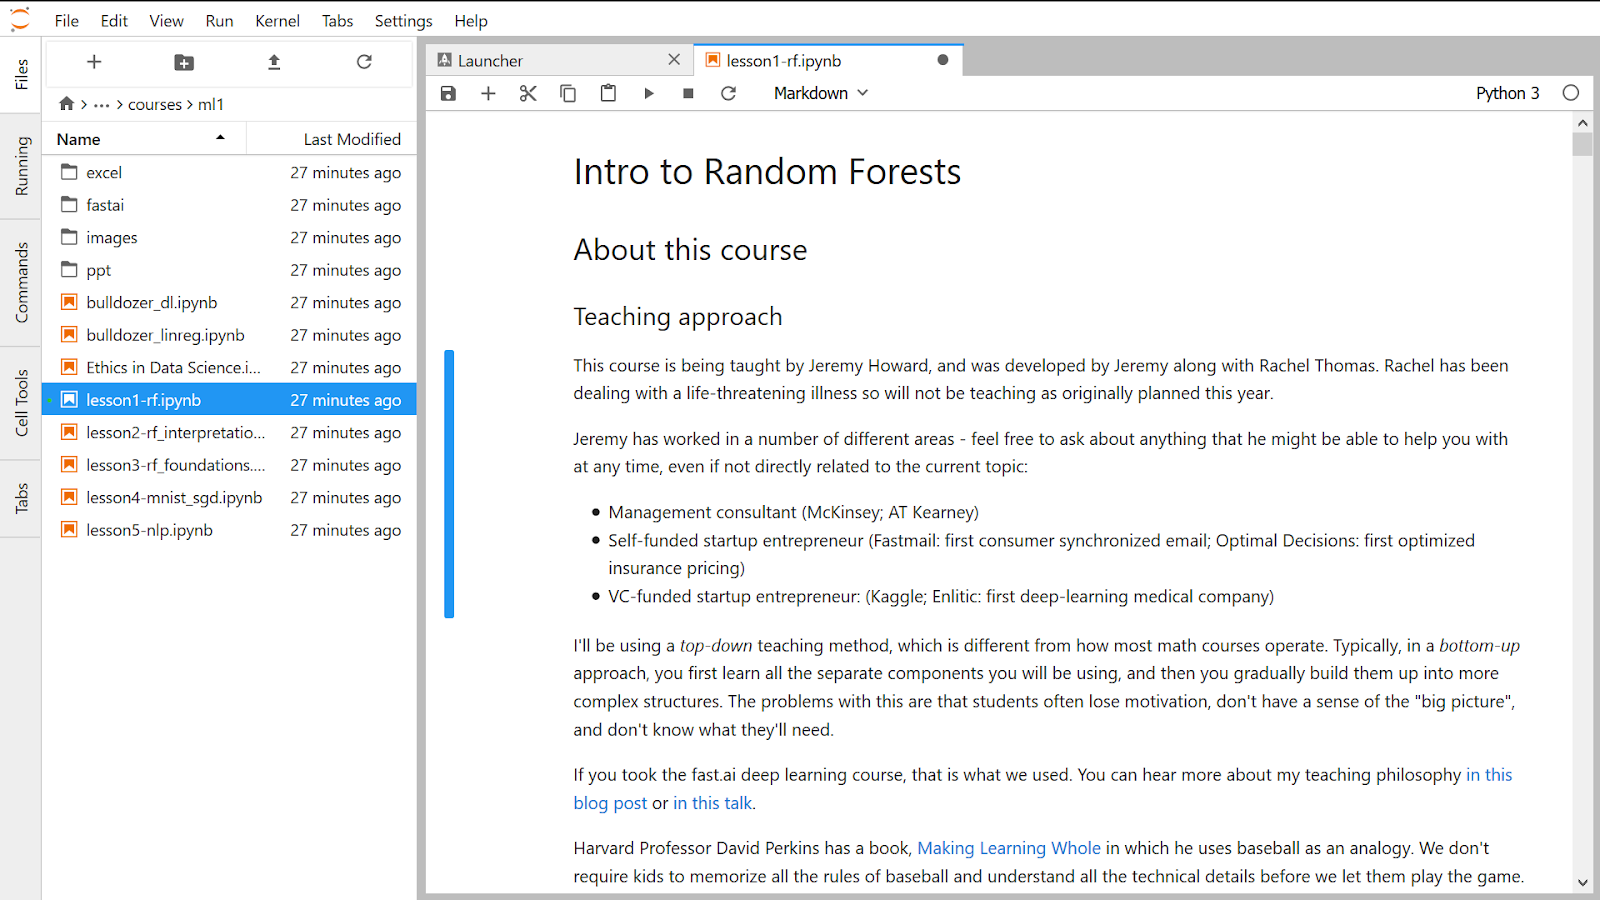

Scroll down. Select the first cell and Run


Basically we need to change the path to point to the bulldozers data set.
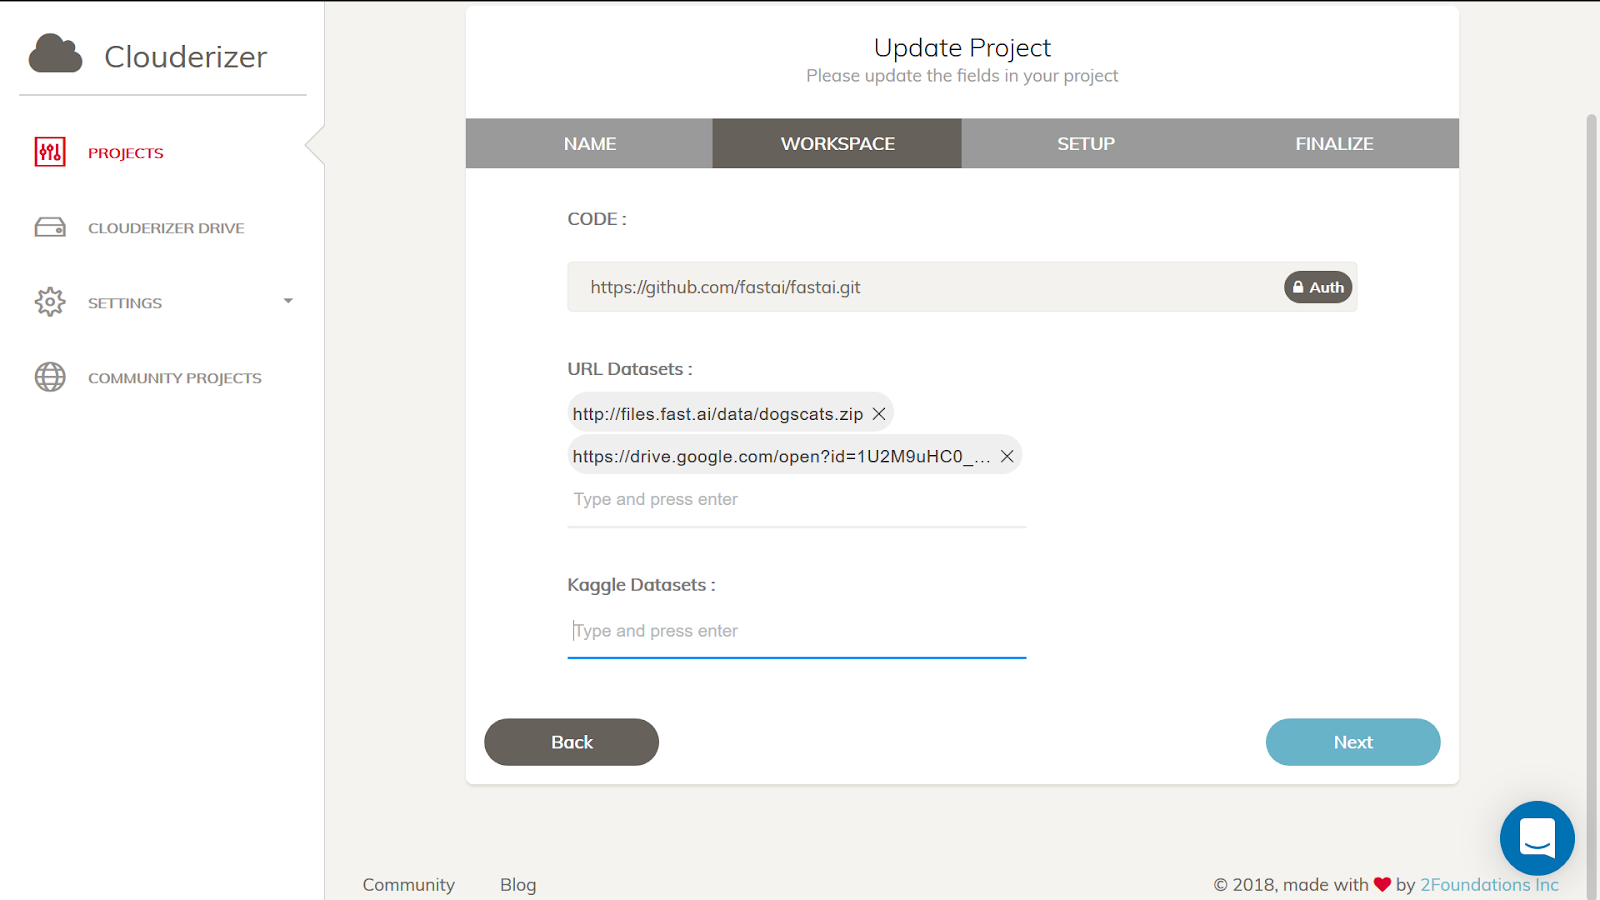
So I stopped the project from Clouderizer Console. And edit project.
I have downloaded the blue book of bulldozers data set to my laptop. And extracted it. And uploaded Train.zip to my Google Drive which is already linked to Cloudarizer.
And generated shared link to Train.zip. And provided it under “Workspace > URL Datasets: “ section.
Here is the startup script generated in the next page of the Edit Project Wizard UI.
----PRE TASK START----
pip3 install fastai==0.7.0
if pip -V | grep "python 3.6"
then
pip install http://download.pytorch.org/whl/cu80/torch-0.3.0.post4-cp36-cp36m-linux_x86_64.whl
pip install torchvision
pip install torchtext==0.2.3
else
pip3 install http://download.pytorch.org/whl/cu80/torch-0.3.0.post4-cp36-cp36m-linux_x86_64.whl
pip3 install torchvision
pip3 install torchtext==0.2.3
fi
----PRE TASK END----
ln -s ~/clouderizer/fast.ai/data ~/clouderizer/fast.ai/fastai/courses/dl1/
jupyter nbextension enable --py widgetsnbextension --sys-prefix
|
Click Next and Finish editing the project. Now click “Stop” to stop the currently running Fast.ai project. This will take couple of minutes.
The click “Start” from Fast.ai project and open it in Google Colab. This will open a new tab. And execute the command in the Notebook.
Go back to Clouderizer console. And start the Jupyter Notebook.
Open File > New Terminal
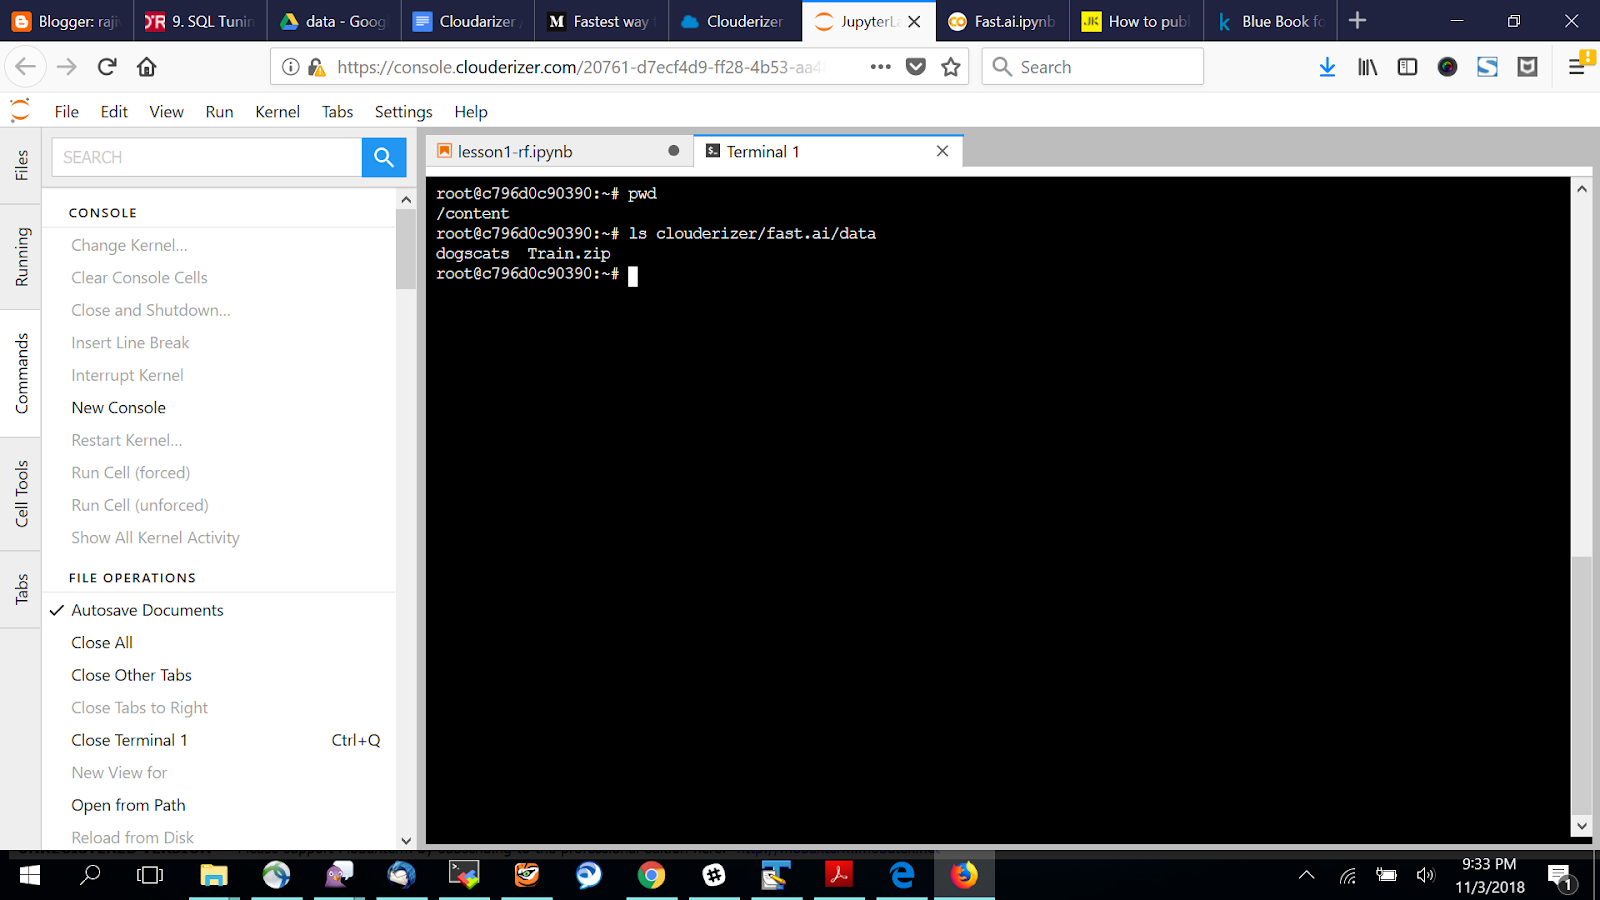
Run “unzip Train.zip” in the above console window.
Give path to Train.zip in the Jupyter Notebook.
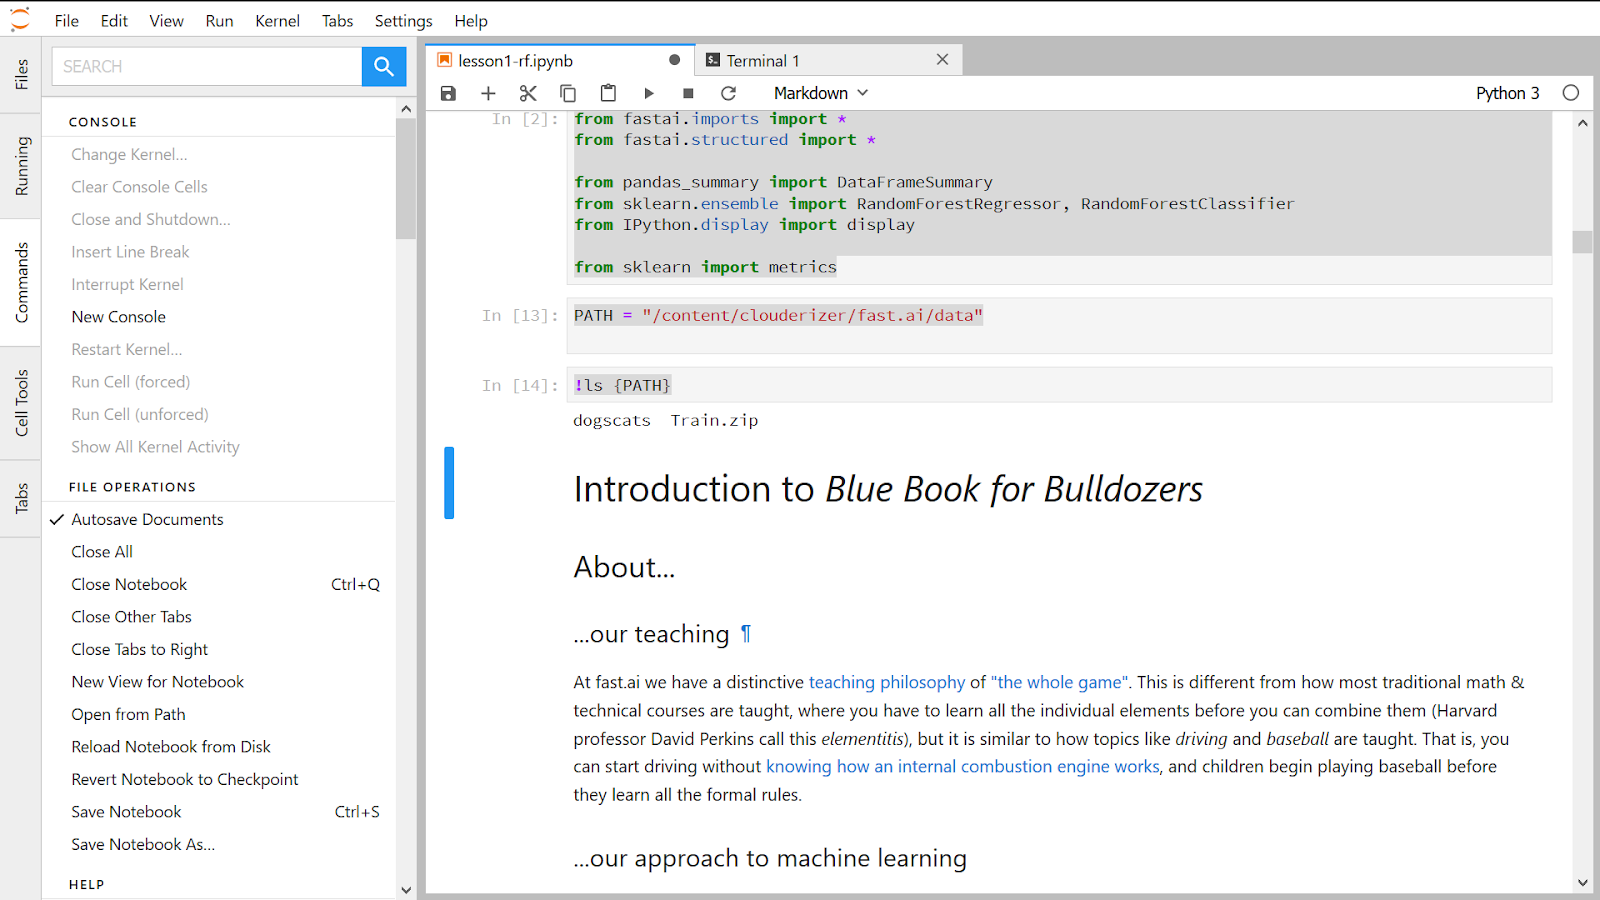
PATH = "/content/clouderizer/fast.ai/data/"
Now execute the cells one by one. After each execution, wait till the Kernel is Idle.
Before executing below cell, need to update the path
os.makedirs('tmp', exist_ok=True)
df_raw.to_feather('tmp/bulldozers-raw')
TO
os.makedirs('tmp', exist_ok=True)
df_raw.to_feather(‘/content/clouderizer/fast.ai/data/bulldozers-raw')
Also change below line
df_raw = pd.read_feather('tmp/bulldozers-raw')
TO
df_raw = pd.read_feather('/content/clouderizer/fast.ai/data/bulldozers-raw')
But still got below error:
---------------------------------------------------------------------------
TypeError Traceback (most recent call last)
----> 1 df_raw = pd.read_feather('/content/clouderizer/fast.ai/data/bulldozers-raw')
/usr/local/lib/python3.6/dist-packages/pandas/io/feather_format.py in read_feather(path, nthreads)
110 return feather.read_dataframe(path)
111
--> 112 return feather.read_dataframe(path, nthreads=nthreads)
TypeError: read_feather() got an unexpected keyword argument 'nthreads'
---------------------------------------------------------------------------
Ran pd.__version__ in the cell
Output: '0.22.0'
Workaround: Uninstall 0.11 version of pyarrow and Install 0.10 version
!{sys.executable} -m pip install pyarrow==0.10.0
But got below error
----------------------------------------
[autoreload of pyarrow failed: Traceback (most recent call last):
File "/usr/local/lib/python3.6/dist-packages/IPython/extensions/autoreload.py", line 247, in check
superreload(m, reload, self.old_objects)
AttributeError: module 'pyarrow' has no attribute 'compat'
]
File "/usr/local/lib/python3.6/dist-packages/IPython/extensions/autoreload.py", line 247, in check
superreload(m, reload, self.old_objects)
AttributeError: module 'pyarrow' has no attribute 'compat'
]
-------------------------------------------
Even below one didn't help
------------
!{sys.executable} -m pip install pyarrow==0.11.0
!{sys.executable} -m pip install pandas==0.23.4
import feather
df_raw = pd.read_feather('/content/clouderizer/fast.ai/data/bulldozers-raw')
------------
Another workaround but below one didn’t help.
Unable to edit the file even after opening it in UI.

Edited the file from Terminal

Shutdown the kernel and open a new terminal

The changes to environment.yml is still there even after shutting down the kernel. After shutting down the kernel, if I open a terminal, need to login to Ubuntu with the password specified in the console.
Finally I continued without using pyarrow. Basically df_raw already has the data set. So we can continue with remaining steps in the Notebook, even after “read_feather” failed.


No comments:
Post a Comment